English translation of the original Swedish diary entry. Swedish original below. Plans and observations belong to the time of writing.
After the Epiphany holiday, we started on the service-building slab and the drainage trench. As with the garage, we began by bringing the gravel to the right level. It is important to cover it with insulation overnight so it does not freeze.
Day two began by removing 5 cm of gravel: we had measured incorrectly. Then we positioned the L-shaped elements forming the slab's outer edge.

Getting their position and height right takes care and plenty of measuring. A laser level is very useful.
We backfilled outside the elements so they would stay put when the concrete arrived.

A floor drain seemed sensible with so much plumbing involved. The cast-iron drain is installed and covered.

Its outlet runs into the drainage trench. The black pipe is perforated drainage pipe.

The edge-beam reinforcement is in place. This time, we used cages of bent reinforcement tied together with straight bars, supported on spacers at the correct height.

Six and a half pallets of Finja lightweight expanded-clay blocks, delivered by the local Woody merchant. The service building and greenhouse wall will need several hundred blocks, each weighing 21.5 kg. There will probably be at least one more delivery.

With a little time to spare, we built some formwork for the wall footing—a useful place for any leftover concrete.

We laid the greenhouse air-intake pipes. It is something of an experiment because the drainage prevented us burying them as deeply as planned. A 60-metre loop of 160 mm pipe is intended to warm or cool the air with the seasons. There is a drain at the lowest point so the pipe can be washed.

A layer of insulation should hopefully improve its performance, since the pipes could not go very deep.

The slab is fully reinforced, and we have laid out a trial course of blocks. The slab will have two levels to support the edges of the blockwork.

Concrete!
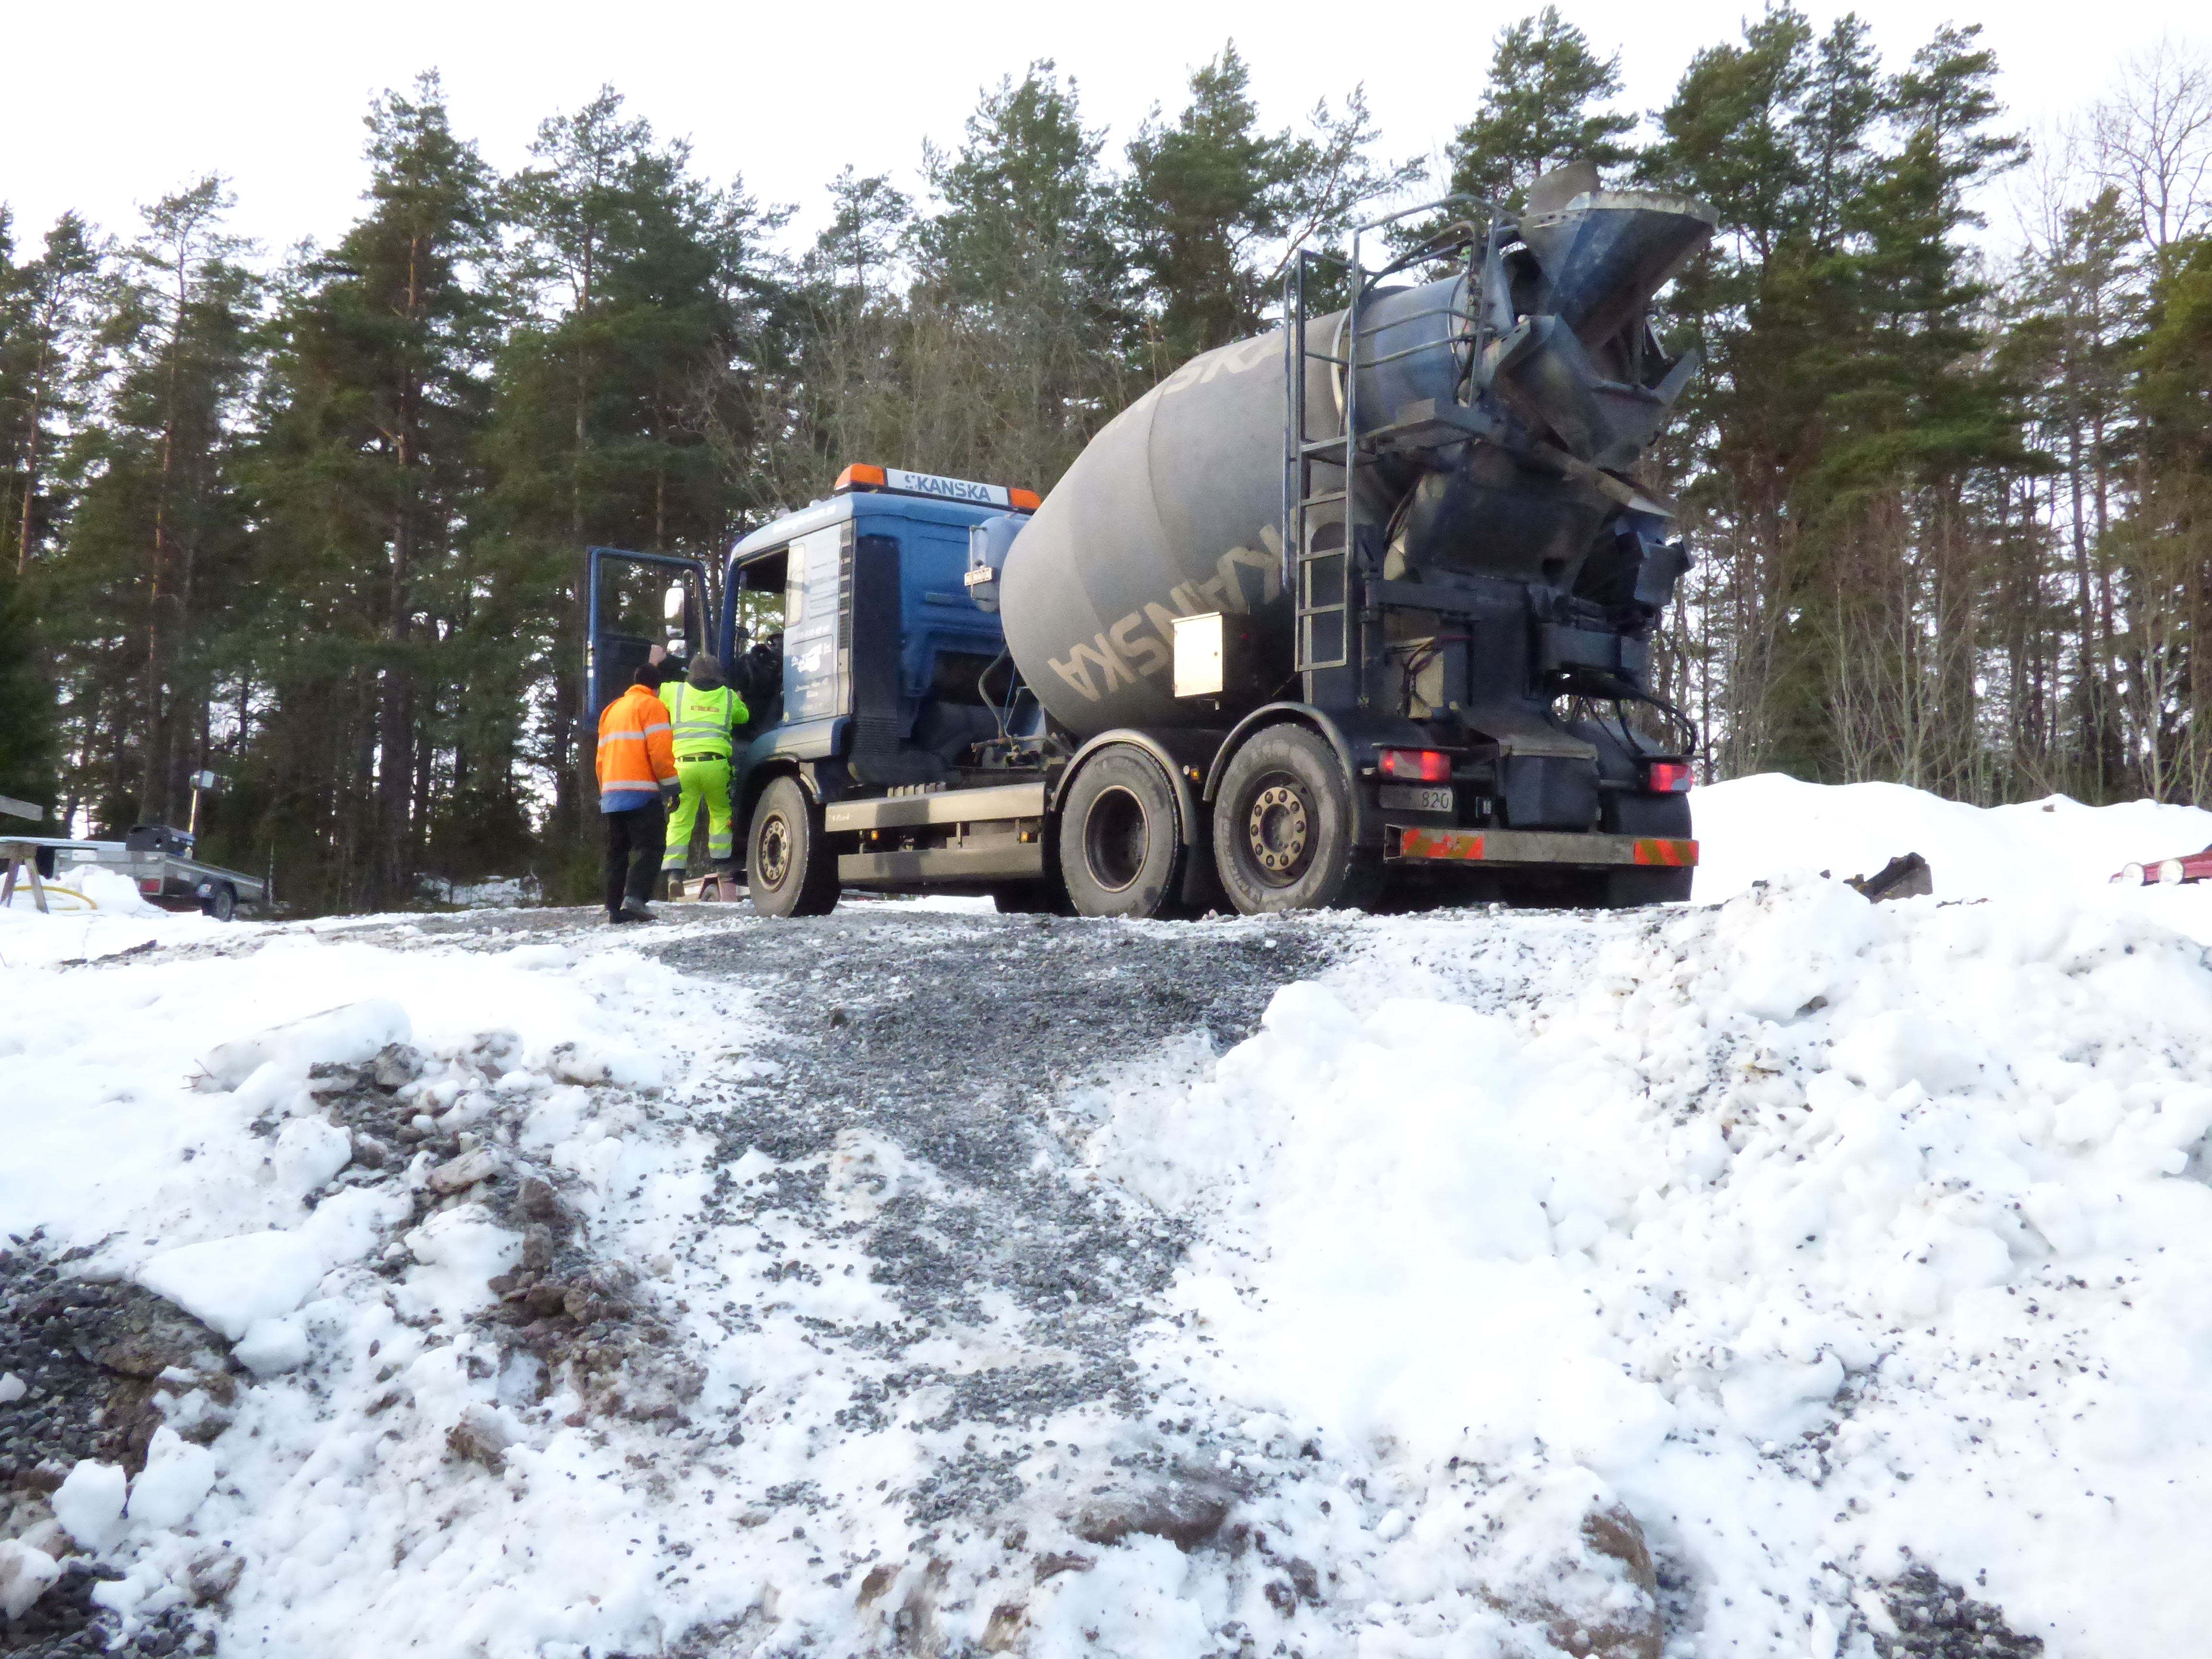
We poured the edge beam first.

Richard and Thorbjörn checked levels, shovelled and vibrated the concrete.

I positioned the blocks so we could pour 5 cm of concrete against them, up to the finished floor level.

Hmm… out of concrete. We had miscalculated somewhere. We ordered another 1.5 cubic metres, which arrived a little later.

Unfortunately, the first delivery was already late, the weather was cold and the concrete was not as warm as we had hoped. It cured very slowly; the wind probably did not help. We stopped around seven in the evening and hoped it would not harden too much overnight.

The next morning, it was still possible to power-float the slab. It was a little hard, but with some work we got a good finish. We will see the result when we uncover it. For now, it is resting under insulation and tarpaulins.

Unfortunately, we cannot afford more help from Richard and Thorbjörn at the moment, so we will carry on ourselves for a while. We have learnt a lot and should manage. Thank you for all the help so far! We will bring in more help as the next slab approaches.
Next come more wall-footing forms and the service-building masonry. Frost makes things more complicated: mixing with warm water, keeping the bags warm, using a little frost-protection additive and covering the work properly afterwards. Hopefully, that will get us through.
Read the Swedish original — Teknikhus
Det krävs lite fixande och mätande för att få det perfekt i position och höjd. Laser är riktigt skönt att ha. Motfyllning utanför så elementen inte rör sig när betongen kommer.
Golvbrunn kan vara bra att ha när det är VA inblandat. Gjutjärnsbrunn på plats och täcks.
Avloppet från brunnen dras ut i dräneringsdiket. Svarta röret är perforerat dräneringsrör.
Armeringen i kantbalken på plats. Den här gången korgar av böjd armering som najas ihop med raka järn. Står på distanser så de hamnar på rätt höjd i betongen.
6,5 pall lättklinkerblock från Finja. Lokala Woody fixar leveransen. Det kommer gå ett antal hundra block till teknikhuset och muren till växthuset. 21,5 kg styck. Det blir nog minst en leverans till.
Vi passade på att bygga lite form åt sulan för grundmuren när vi hade lite tid över. Bra att kunna fylla överbliven betong i.
Markrör för tilluft i växthuset läggs ner. Lite chansning iom att vi inte kunde lägga ner rören djupare pga dräneringen. 60 m 160 mm markrör går i en slinga för att värma/kyla luften beroende på årstid. På lägsta punkten finns dränering så det går att tvätta röret.
Ett lager isolering på för att förhoppningsvis få lite bättre utbyte av rören när rören inte kom ner så djupt.
Plattan färdigarmerad och ett lager leca testutlagt. Plattan ska vara i två nivåer så att kanterna på lecan får stöd.
Betong!
Kantbalken gjuts först.
Richard och Thorbjörn mäter höjd, skyfflar och vibrerar.
Jag lägger på leca i rätt position så vi kan fylla 5 cm betong mot dom upp till golvets slutliga höjd.
Hmm… slut på betong… Felräknat någon stans. 1,5 kubik till fick beställas.
En stund senare fick vi resten. Tyvärr var leveransen lite sen till att börja med, vädret kallt och betongen inte lika varm som vi hoppats så det brann väldigt långsamt. Vinden ställde nog till en del också. Vi fick bryta vid sjutiden på kvällen och hoppas att det inte härdat för mycket under natten.
Morgonen efter gick det fint att glätta, aningen hård men med lite jobb gick det att få fint. Vi får se längre fram när vi avtäcker hur resultatet blev. Nu vilar plattan under lite isolering och presenningar.
Tyvärr har vi inte råd att ta mer hjälp av Richard och Thorbjörn nu så nu kör vi vidare själva ett tag. Vi har lärt oss mycket och ska nog klara oss själva ett tag. Tack för hjälpen hittills! Vi kommer ta in lite mer hjälp när det närmar sig nästa platta.
Nu fortsätter vi med fler formar för muren och murning av teknikhuset. Lite specialmeck iom att det är frysrisk. Blanda med varmt vatten, hålla säckarna varma, blanda med lite frostskydd i, täcka ordentligt efter gjutning/murning så ska det gå bra.